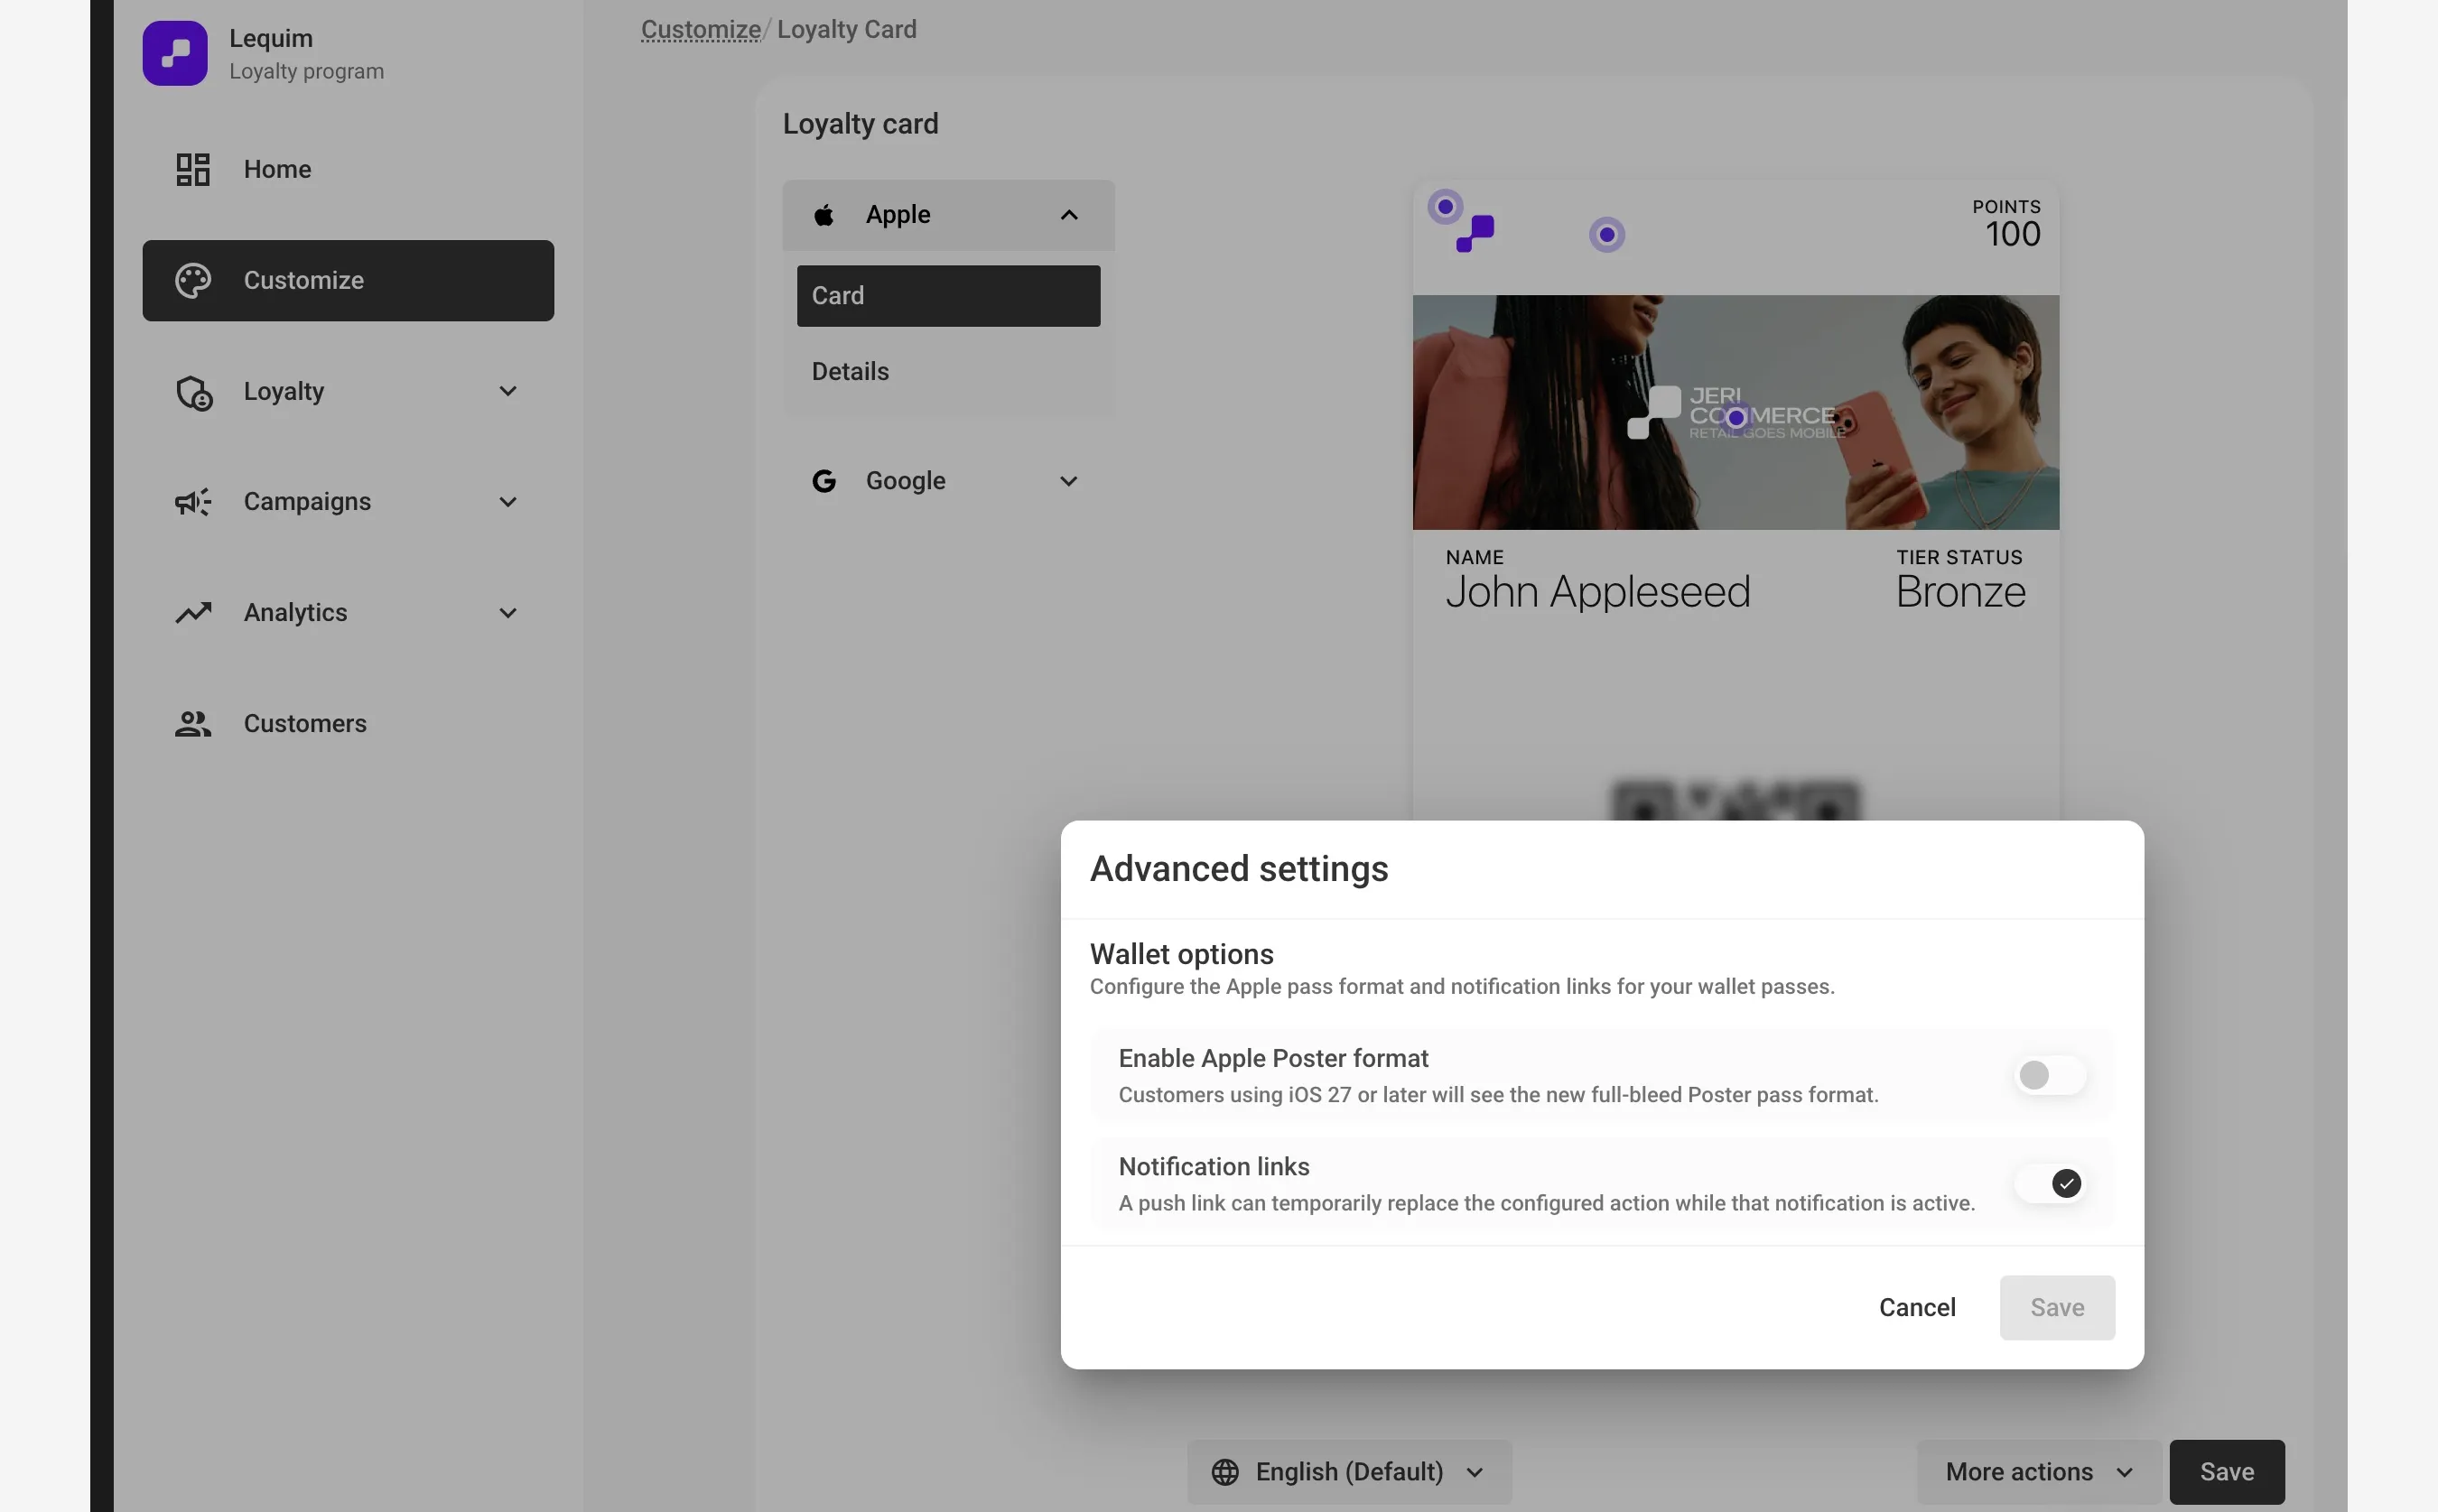
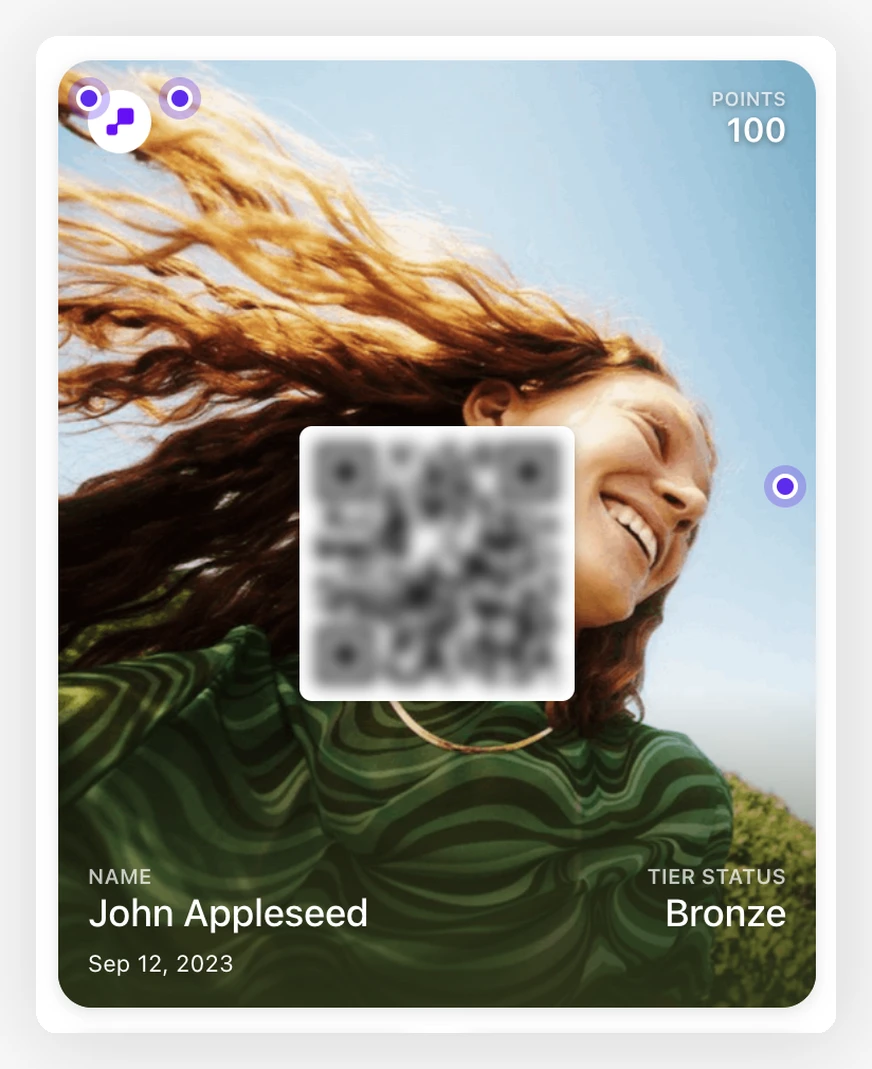
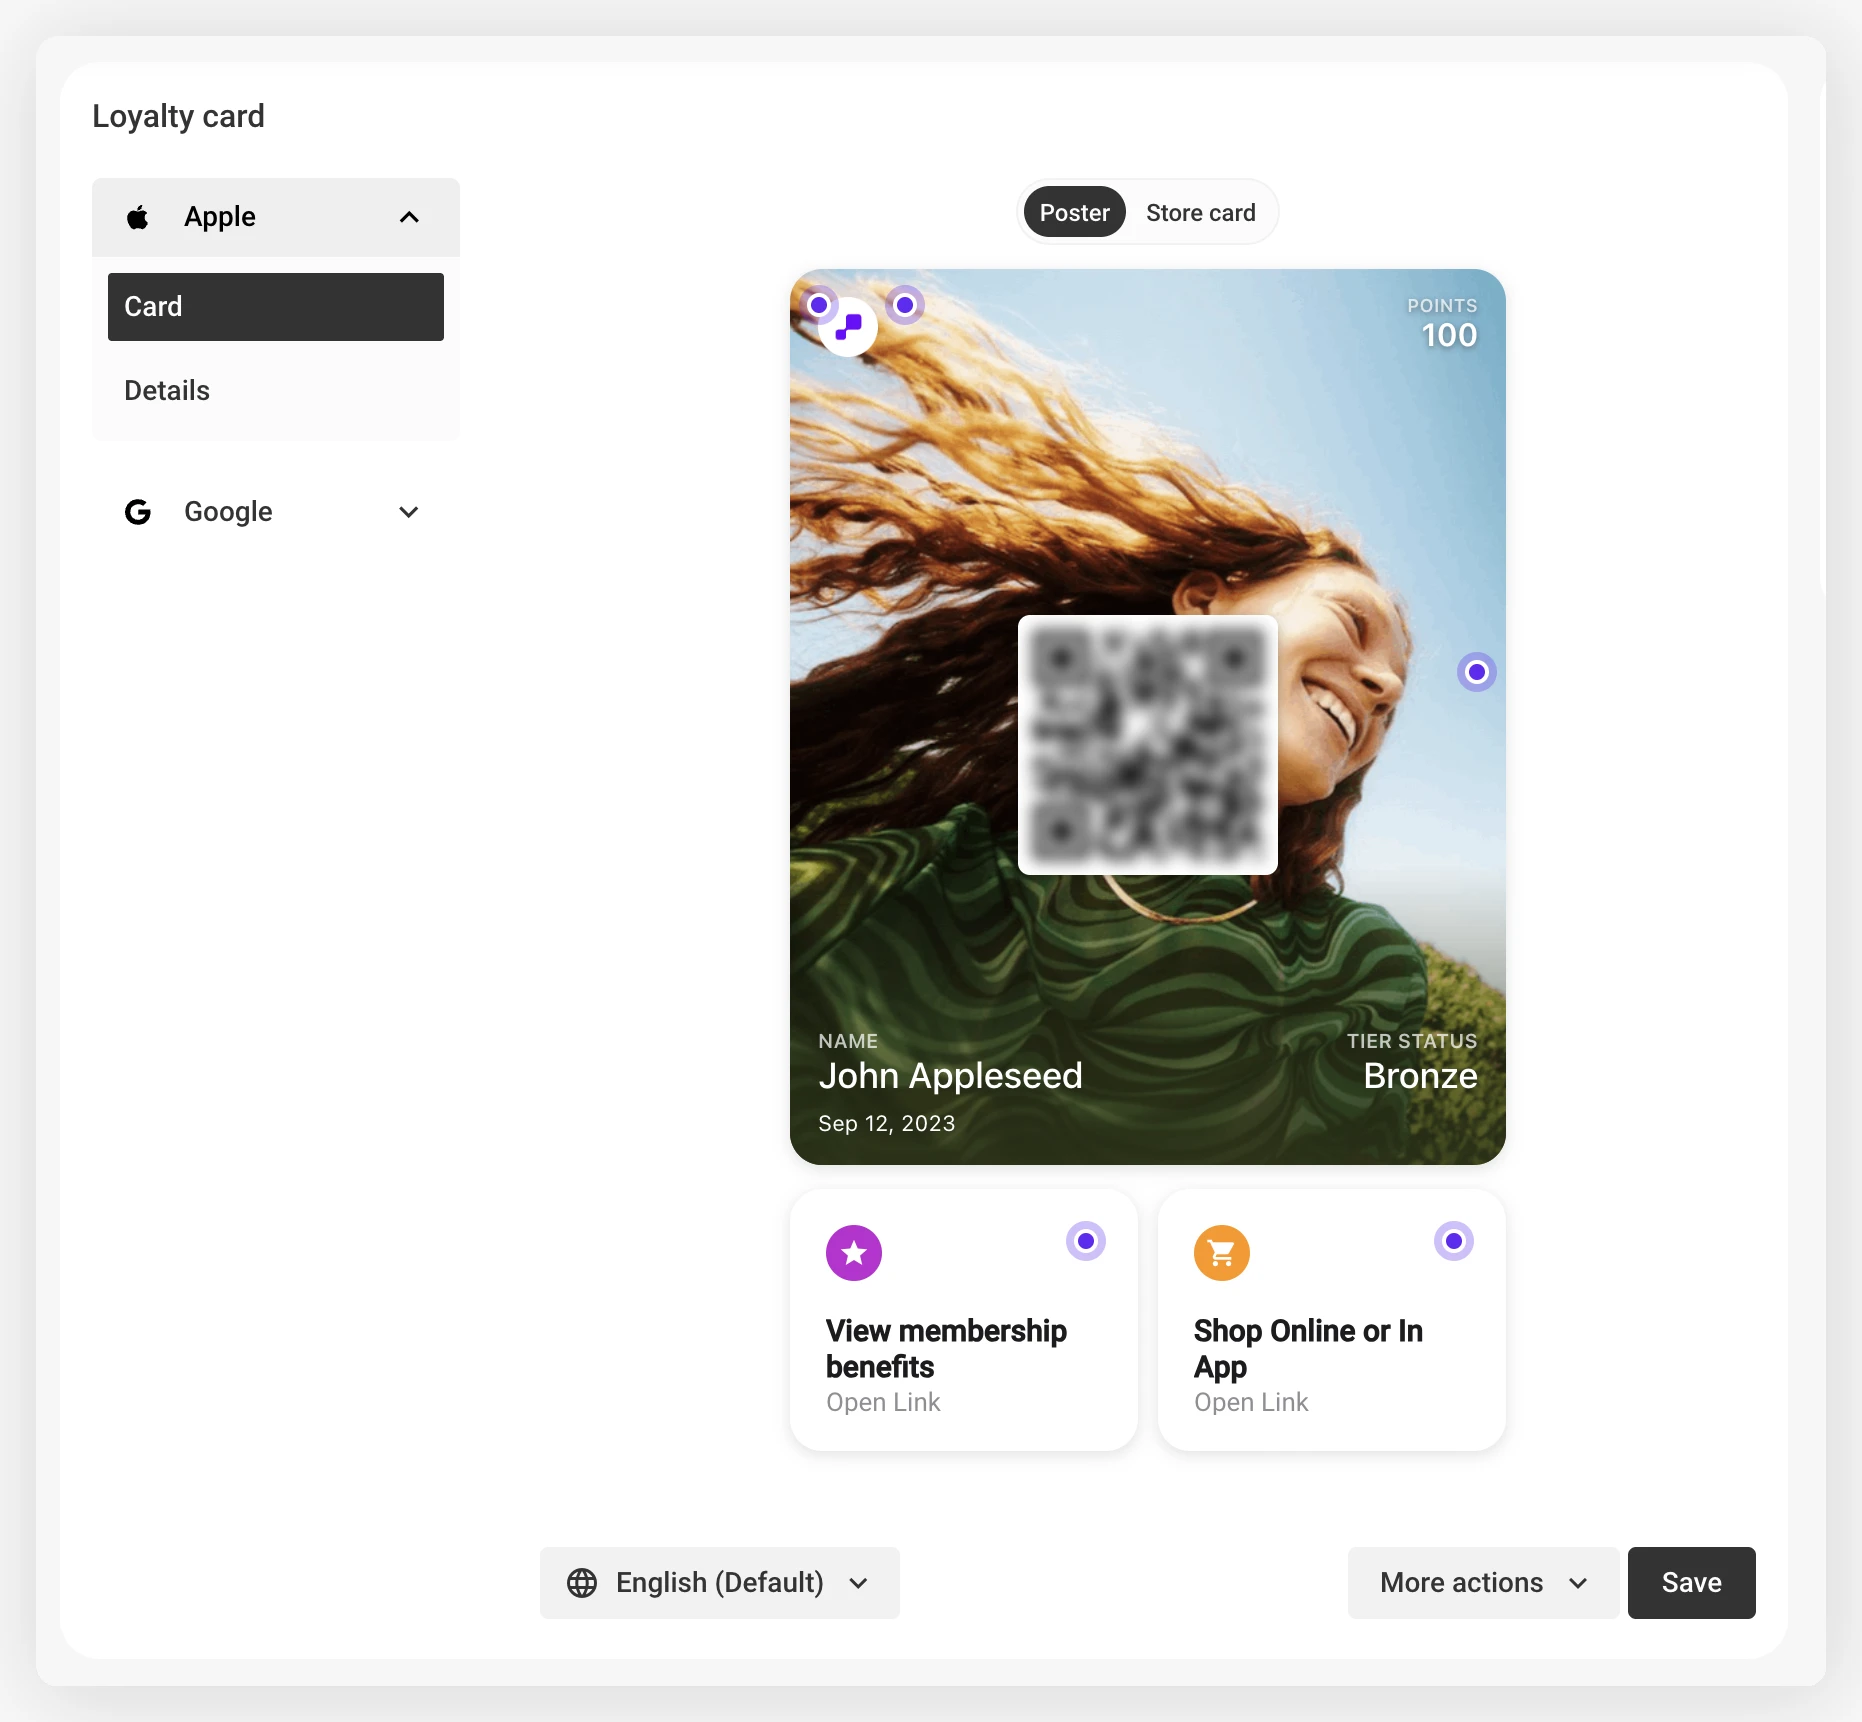
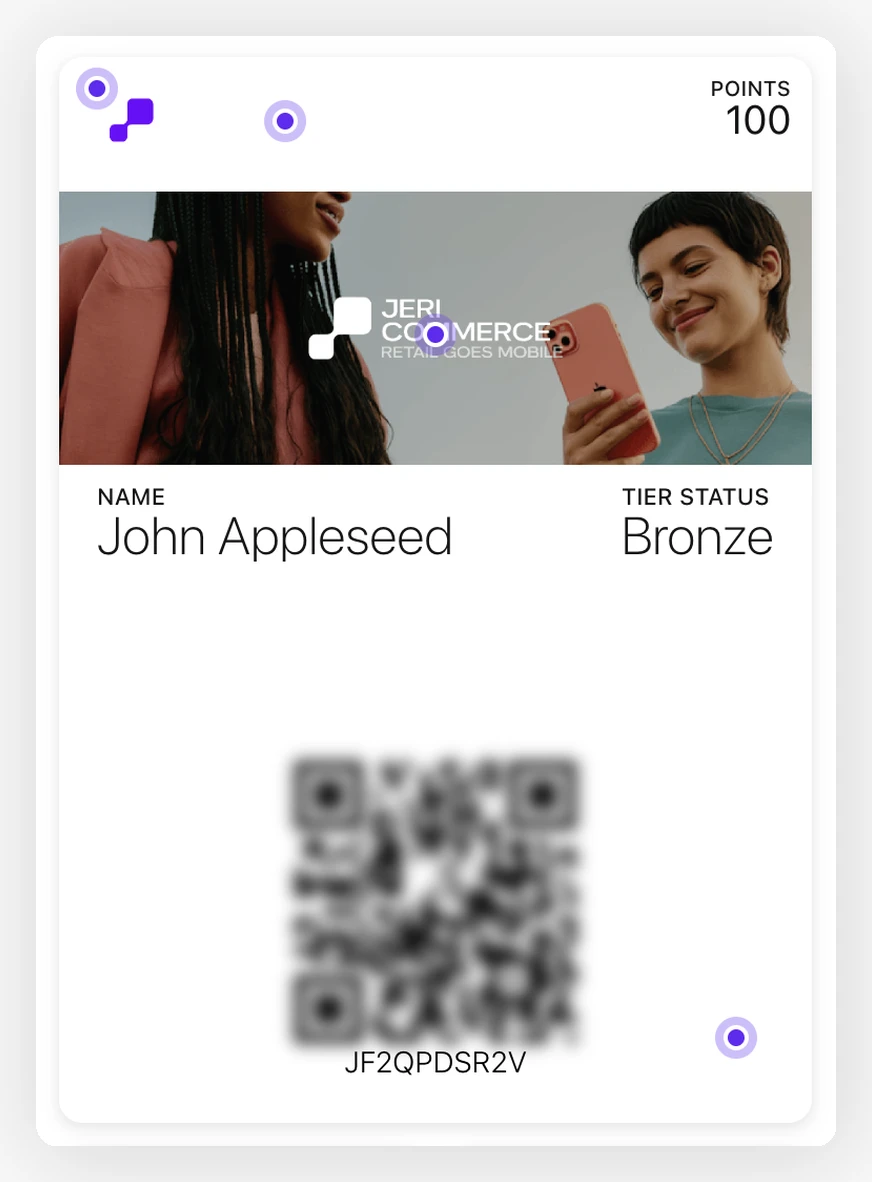
Make your loyalty card look professional and on-brand by uploading custom images. Each asset appears in a different place on the card, so it's important to get the sizes and ratios right.
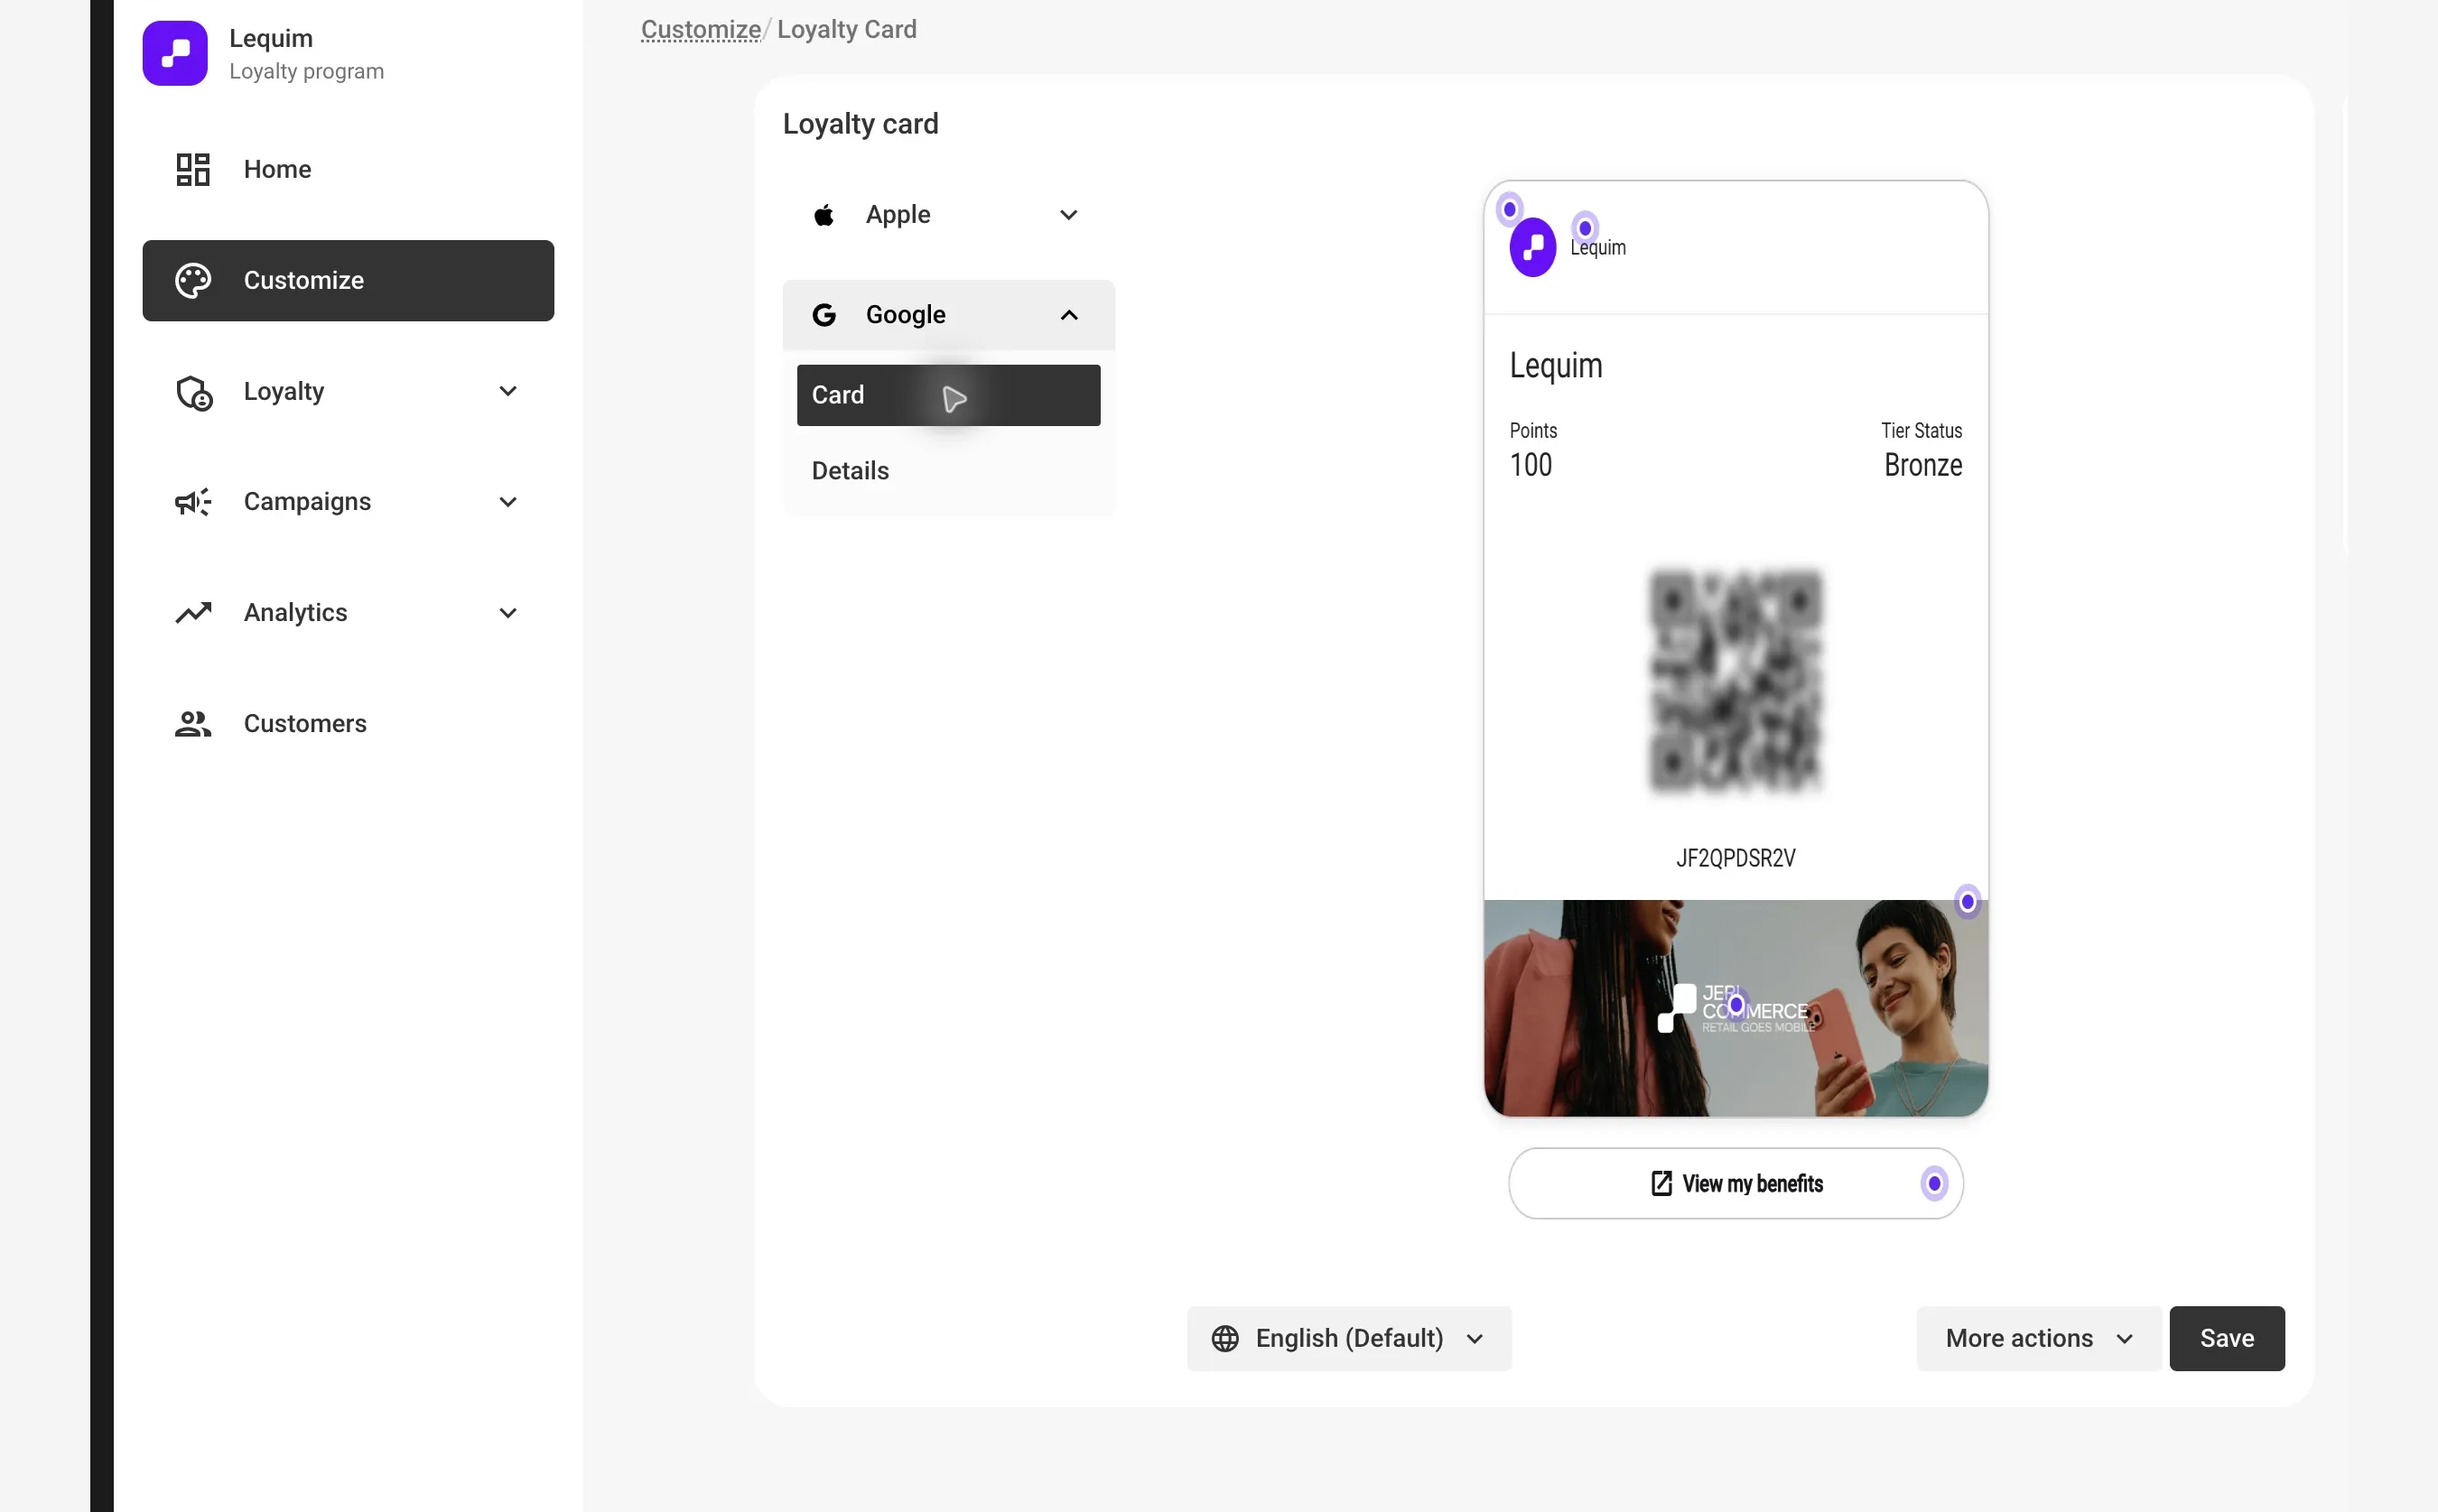
Go to Customize → Loyalty card. Choose Apple or Google, then open Card to edit that pass's artwork and appearance. Open Details to edit the content on its back.
Google Wallet Icon & Notification Icon
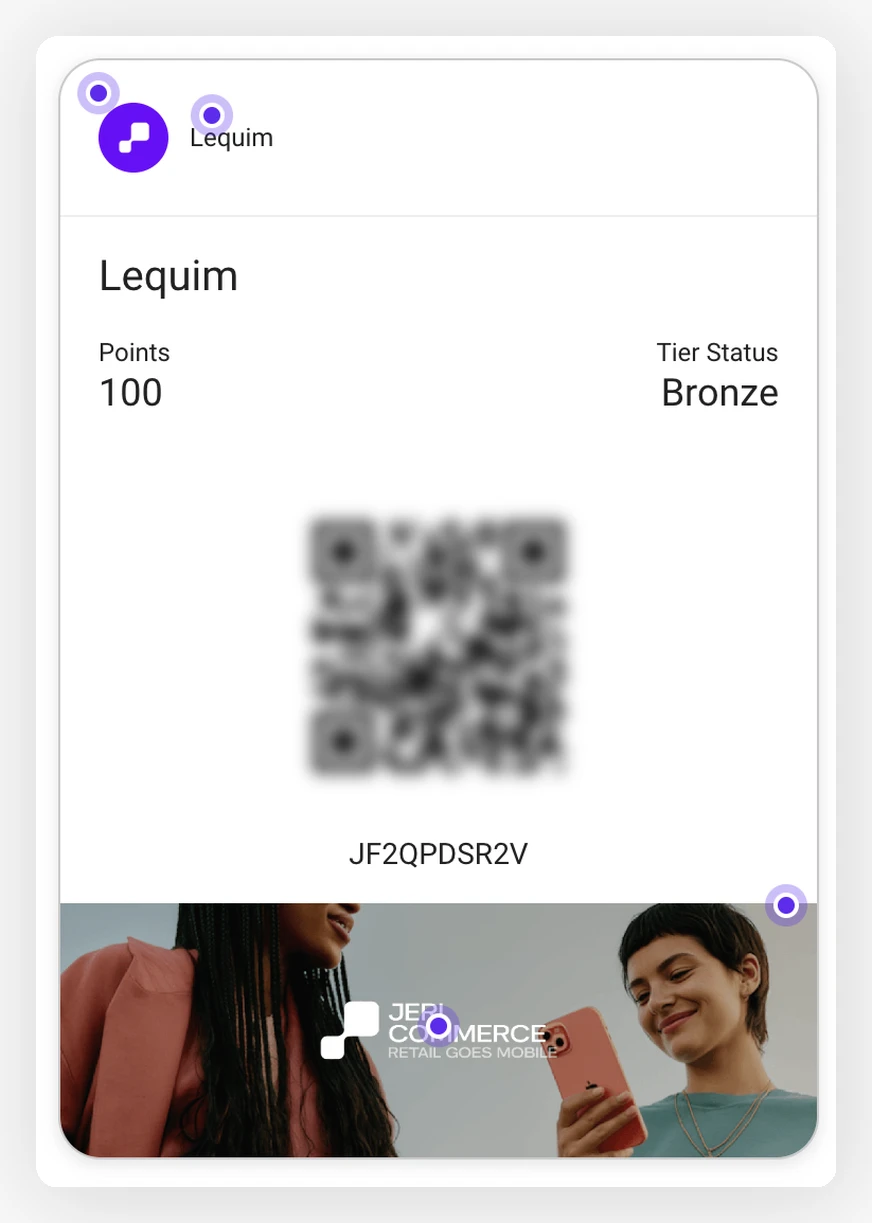
The Google Wallet icon appears on the front of the Google pass. JeriCommerce also uses an icon for push notifications on iOS and Android.
| Requirement | Value |
|---|---|
| Aspect ratio | 1:1 |
| Minimum size | 840 × 840 px |
Apple Pass Logo
The logo sits at the top-front of the Apple Wallet pass. If you also add a program title, the logo shares the space with it. Otherwise, the logo displays alone.
| Requirement | Value |
|---|---|
| Aspect ratio | 1:1 or 3:1 |
| Recommended size (1:1) | 512 × 512 px |
| Recommended size (3:1) | 1536 × 512 px |
Apple Strip Image & Google Hero Image
The editor uses separate artwork for each wallet. The Apple strip image fills the wide artwork area near the top of the pass; the Google hero image appears at the bottom.
| Requirement | Value |
|---|---|
| Aspect ratio | 3:1 |
| Recommended size | 1032 × 336 px |
Initial Banner (Overlay)
The initial banner is an overlay that appears on top of the main banner when the card is first installed. It helps customers understand they need to tap the three dots to see their card details. The overlay disappears once the customer taps any back link.
Find this option in the advanced banner settings, right below the main banner image upload.
New programs start with a transparent overlay template, so the main banner stays visible without instructional artwork until you upload an overlay. Apple Wallet and Google Wallet keep separate overlay outputs so each platform can render the design correctly.
Advanced Wallet Settings
Open More actions → More wallet settings to find the Apple pass options. Turn on Enable Apple Poster format to show the new full-bleed Poster pass to customers using iOS 27 or later. Customers on earlier iOS versions see the standard Store card, so keep that view configured even when Poster is enabled.
The same dialog includes Notification links. When enabled, a push notification link temporarily replaces the configured action while that notification is active.