Scheduled campaigns let you send a wallet push notification to your customers at a specific date and time. Use them to build anticipation and drive action around key moments.
When to Use Them
- Announce a sale or new product launch
- Send a limited-time discount or offer
- Remind customers about an upcoming event or deadline
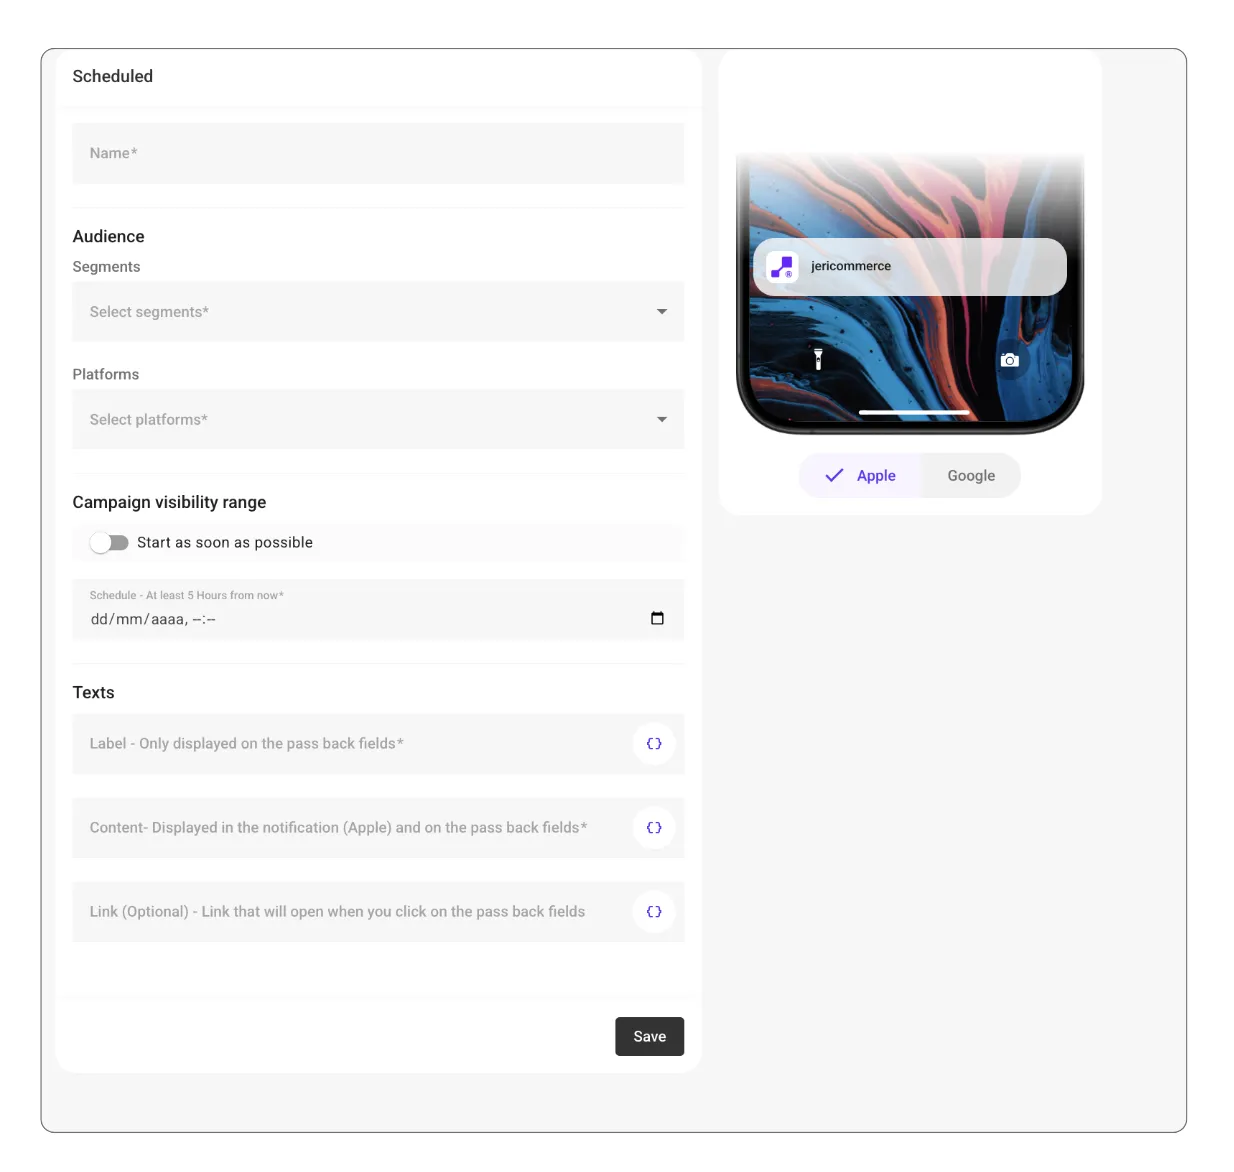
How to Create a Scheduled Campaign
1
Name your campaign
Choose a clear name so you can identify it later in the dashboard.
2
Choose your audience
Pick the customer segment you want to receive the campaign.
3
Pick the platforms
Choose Apple Wallet, Google Wallet, or both.
4
Set the schedule
Turn off "Start as soon as possible" and pick a date and time. The scheduled time must be at least 5 hours from now.
5
Write your notification
- Label — Shown only on the wallet pass back fields
- Content — The text that appears in the push notification (Apple) and on the pass back fields
- Link (optional) — Opens when customers tap the back field entry
6
Save the campaign
The campaign will be sent automatically at the scheduled time.
Coordinate your scheduled campaigns with email or social media posts to create a bigger impact across channels.