JeriCommerce sends two automatic emails during the customer journey: a confirmation email after account creation and a download wallet pass email with a one-time install link. Both can be customized with your logo from Settings > Customer Flows > Emails, or fully replaced with your own emails.
Custom emails
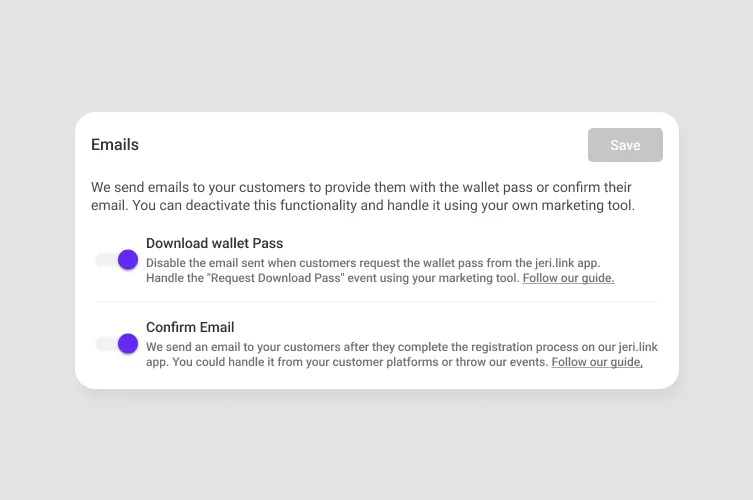
Some brands need full control over every email their customers receive. JeriCommerce lets you turn off the default emails so you can send your own instead.
Open email settings
Go to Settings > Customer Flows > Emails in the JeriCommerce admin area.
Turn off the emails you want to handle
Use the toggles to turn off the confirmation email, the download wallet pass email, or both.
Set up your own email flow
Follow the sections below to make sure your custom emails cover everything the default ones handle.
Download wallet pass email
This is the most important email in the flow. It contains a one-time link that lets customers install their wallet pass.
Subscribe to the wallet pass event
On your email platform or API integration, subscribe to the Wallet pass requested event.
Send the download link
When the event fires, it includes a one-time download URL as a property. Use this URL in your email so the customer can install their wallet pass.
Alternative ways to get the download link
You can also get the download link through: - Feature Sync — available for Klaviyo and Shopify integrations - API — request it directly from the JeriCommerce API
See Download wallet pass links for a full breakdown of how these links work.
Confirmation email
This email is sent automatically when a customer creates an account through the JeriCommerce web app (jeri.link/{program-name}/register).
To handle this email yourself, you have two options:
- From your platform directly — trigger a welcome email when a new customer is created in your system
- Using JeriCommerce events — subscribe to the
Customer createdevent and send a confirmation email from there